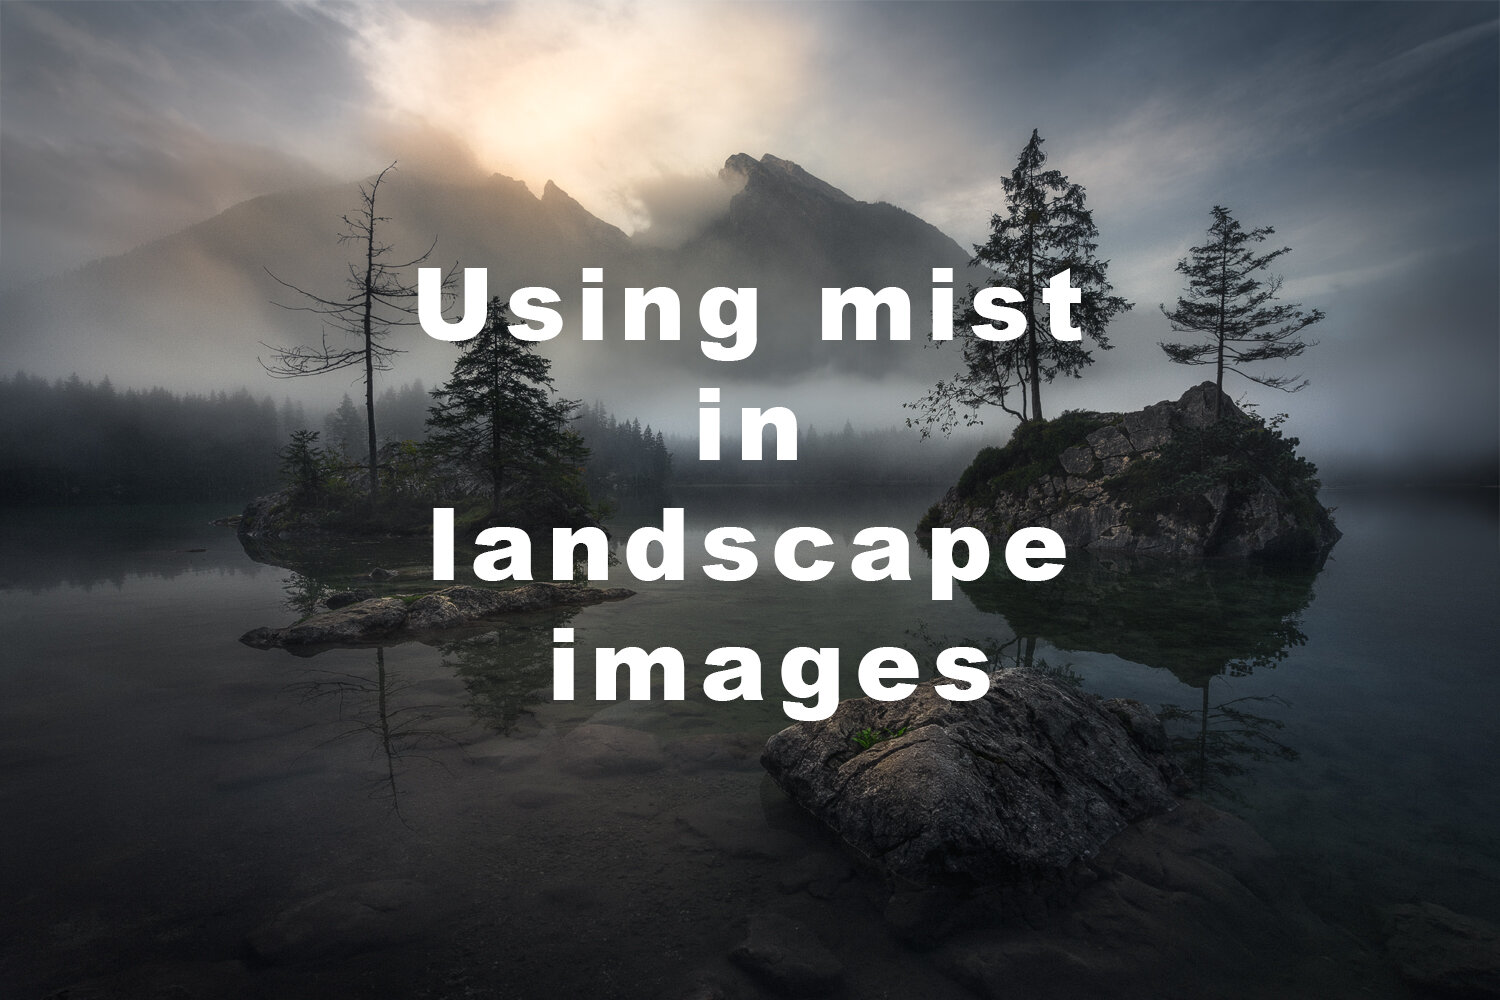
Using mist in landscape images
Mist has a rare ability to turn an ordinary scene into something extraordinary, adding mood and a sense of mystery. By reducing the range of colours and lowering contrast, mist simplifies the landscape and provides a much-needed separation between elements within the picture. This places greater emphasis on composition and form and helps create more clearly defined focal points. Mist also creates layers within the landscape by providing a simple uncluttered background behind individual features, which make them more prominent and provide a greater feeling of depth.
Conditions for mist
Mist can occur at any time of year but it is most likely to happen when there are extremes between daytime and nighttime temperatures. Consequently, the spring and autumn months have a higher likelihood of mist forming, as they tend to have a greater divergence of temperature.
Mist comes in many forms but the most photogenic kind is ground mist, which form during clear, windless nights. Ground that has warmed during the day loses heat by radiation and, as the warm air meets the colder air above, tiny droplets of water form to create a low lying layer of ephemeral mist over the landscape. On occasions a ground mist will form at dusk if the air cools rapidly after a warm day but it is more typical for it to form overnight, sometimes lasting until late into the following morning.
More often though mist is a transient feature that may only be present for an hour or so, quickly evaporating as the rising sun warms the air so you’ll need to set your alarm clock for an early start to catch it at its best.
Where to find mist?
Good places to find mist are around ponds, lakes and rivers. Cool, damp valleys and natural hollows also act as a reservoir for mist but equally it can form around hilltops and over wet-covered ground. Clear weather after rain is ideal. By getting out early when weather conditions are favourable you will soon build up a picture of where mist regularly forms in your local area and this will really help to plan your shoot.
Locations that provide an elevated viewpoint over a valley or forest where there are features extending up through the mist work really well. A low mist is ideal for this, as it gently swirls around, constantly revealing or hiding elements within the landscape.
The right amount
There is a very fine line between having the right amount of mist and having too much so that it obliterates the very part of the scene that you want to be the picture’s main focal point. This can change very quickly either for better or worse. On some mornings mist may be perfect for just a few minutes before it thickens and rises up to form denser fog. At other times it may start off thick and then dissipate through the morning but again there will be an optimum point before it disappears altogether. Even within the course of a few minutes the mist may swirl around to reveal or obscure different parts of the landscape. For these reasons it is worth shooting plenty of frames of the same scene over a period of time and also hang around if the conditions aren’t quite right, as they may well improve rapidly.
Keep an eye on your exposure
One thing to keep an eye on when photographing mist is the exposure. The overall light tone of mist can cause metering errors, leading to pictures that are too dark. This is easily overcome by applying some exposure compensation to lighten the image. Usually around +1 stop exposure compensation is enough to correct the problem but make use of the histogram to check that you’ve got it right. Ideally the histogram will show a graph that has a peak towards the right hand side (as well as a range of other tones) but you need to be careful that the highlights are not burnt out, especially when shooting very bright backlit mist. Having the highlight alert option activated will help avoid this.

